Showing posts with label Photoshop. Show all posts
Create Smooth Round Corners For Your Photographs With The Photoshop Shape Tools
If you want to round the corners on your photographs or illustrations on your web site, one very hand tool to help you do this is the Rounded Rectangle vector tool in Photoshop. Here’s how to do it.
1. Open a photo and double-click the Background layer to make it editable. We’re unlocking the Background layer because we’ll be adding a mask to it later. (This is a photograph I took recently when a film crew was working on a period drama in a town near where I live, I converted to black and white with the tiniest hint of sepia).

2. Select the Rounded Rectangle tool from the Tools panel. The Rounded Rectangle may not be visible. Click and hold down the Rectangle tool icon until a pop-up menu appears and then choose the Rounded Rectangle tool.

3. In the Options bar, click the Paths mode button and change the Radius field to 50 pixels. There are several modes available when working with vectors in Photoshop but for this particular technique, make sure that the Rounded Rectangle tool is in Paths mode (the button looks like a square with a tiny dot on each corner with a pen in the center).

To control how round the image’s corners will be, type in a low number for a less rounded corner and a high number for a more rounded corner. I’m using 50 pixels in this case.
4. With your mouse over one corner of the image, click and drag diagonally to draw a box around it. When you release the mouse button, you’ll see a thing grey line that appears over your image – this is the path. If you need to move it, select the Path Selection tool (the black arrow below the Type tool in the toolbox) and drag it to where you want to put it.

5. In the Layers panel, make sure the photo layer is selected then add a vector layer mask by Ctrl + Clicking the Add Layer Mask icon at the bottom of the Layers panel.

Et Voila! Photoshop hides the area outside the rounded rectangle, leaving you with lovely smooth corners.

The great thing about using vectors is that you can resize the rectangle (Ctrl + T to free transform) and you will not lose the quality and smooth edges.
1. Open a photo and double-click the Background layer to make it editable. We’re unlocking the Background layer because we’ll be adding a mask to it later. (This is a photograph I took recently when a film crew was working on a period drama in a town near where I live, I converted to black and white with the tiniest hint of sepia).
2. Select the Rounded Rectangle tool from the Tools panel. The Rounded Rectangle may not be visible. Click and hold down the Rectangle tool icon until a pop-up menu appears and then choose the Rounded Rectangle tool.
3. In the Options bar, click the Paths mode button and change the Radius field to 50 pixels. There are several modes available when working with vectors in Photoshop but for this particular technique, make sure that the Rounded Rectangle tool is in Paths mode (the button looks like a square with a tiny dot on each corner with a pen in the center).
To control how round the image’s corners will be, type in a low number for a less rounded corner and a high number for a more rounded corner. I’m using 50 pixels in this case.
4. With your mouse over one corner of the image, click and drag diagonally to draw a box around it. When you release the mouse button, you’ll see a thing grey line that appears over your image – this is the path. If you need to move it, select the Path Selection tool (the black arrow below the Type tool in the toolbox) and drag it to where you want to put it.
5. In the Layers panel, make sure the photo layer is selected then add a vector layer mask by Ctrl + Clicking the Add Layer Mask icon at the bottom of the Layers panel.
Et Voila! Photoshop hides the area outside the rounded rectangle, leaving you with lovely smooth corners.
The great thing about using vectors is that you can resize the rectangle (Ctrl + T to free transform) and you will not lose the quality and smooth edges.
Tag :
Photoshop
How To Create Bokeh Effect
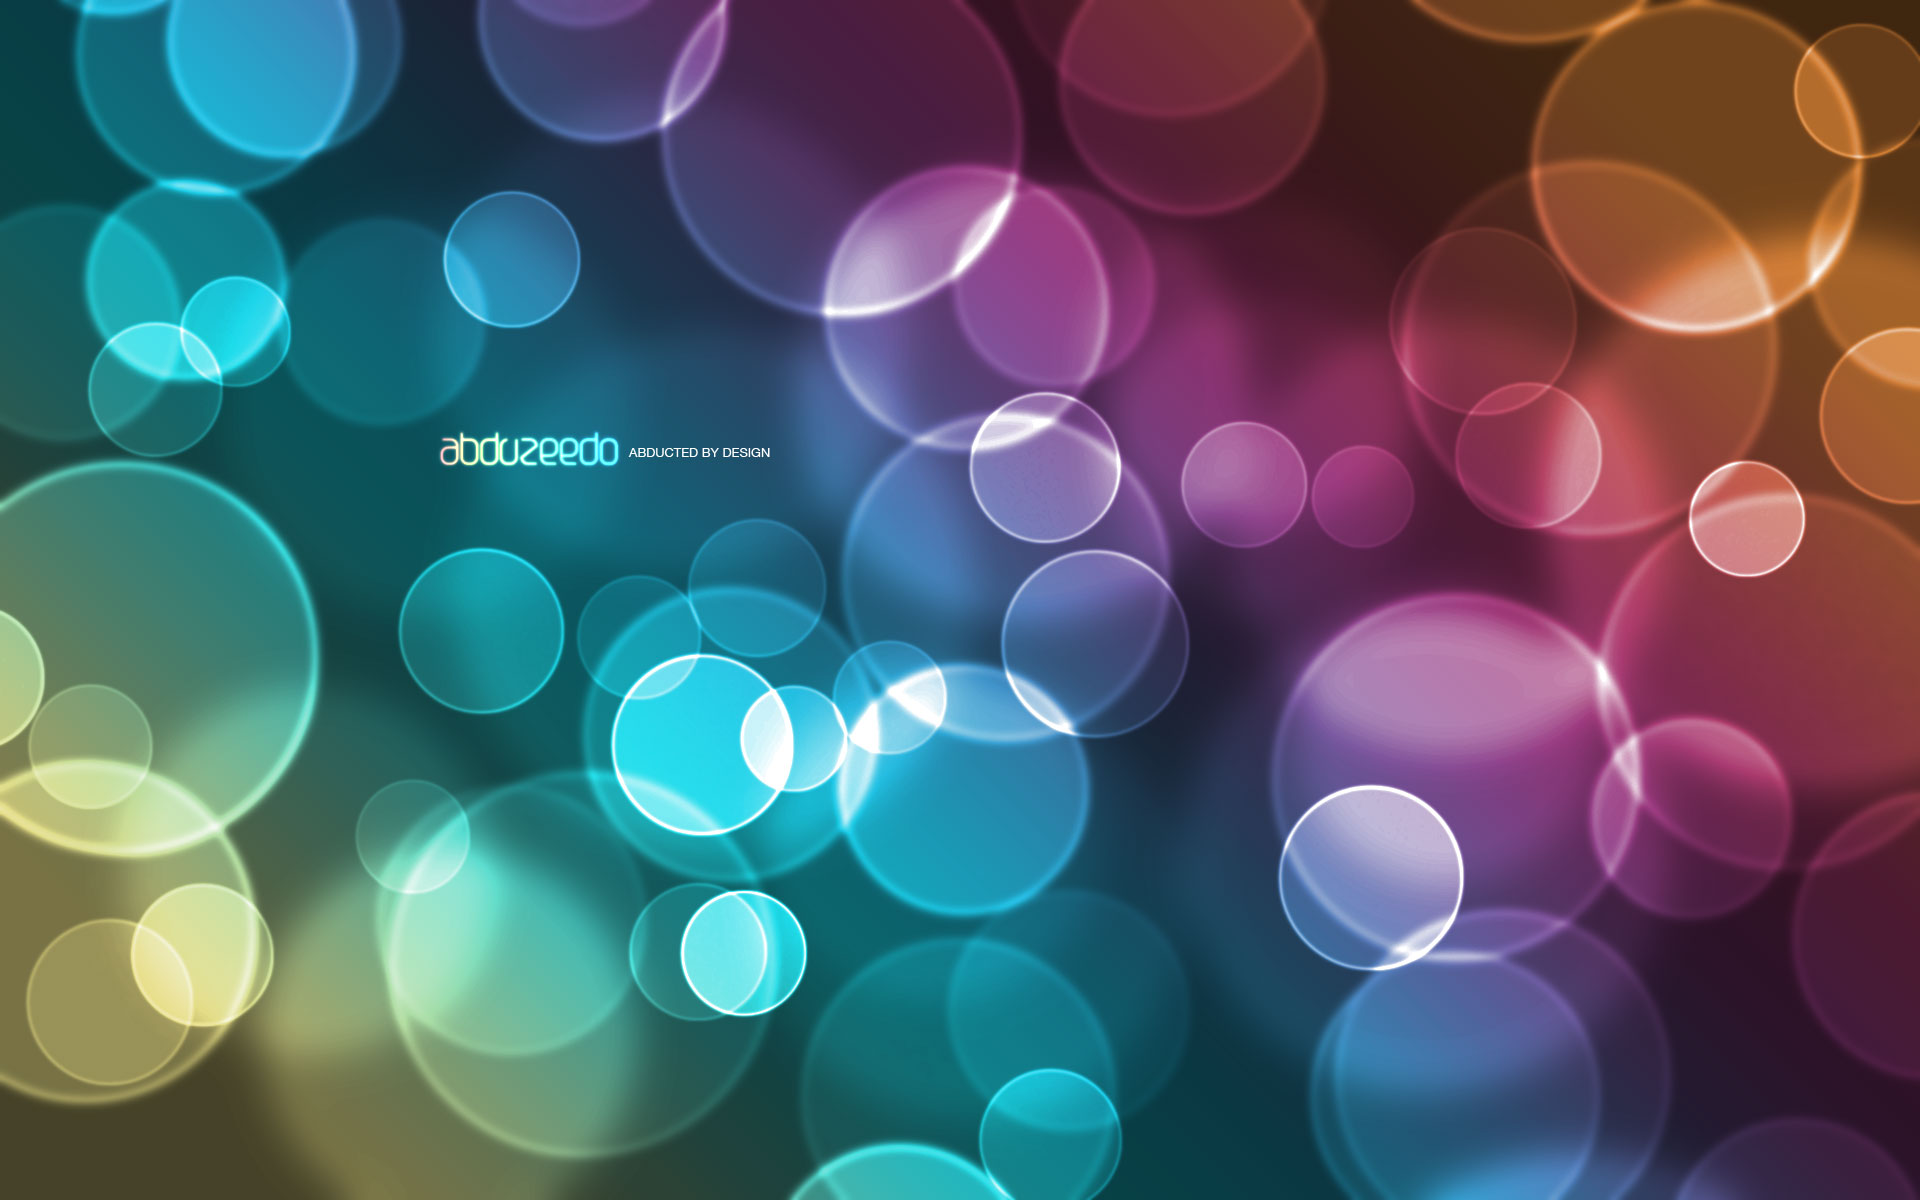
1.Create a new document in Photoshop. As usual I will use a nice scree resolution, 1920x1200 pixels. Fill the background layer with a very dark grey, not black. If you fill it with black the effect won't work. The color I used was #262626.
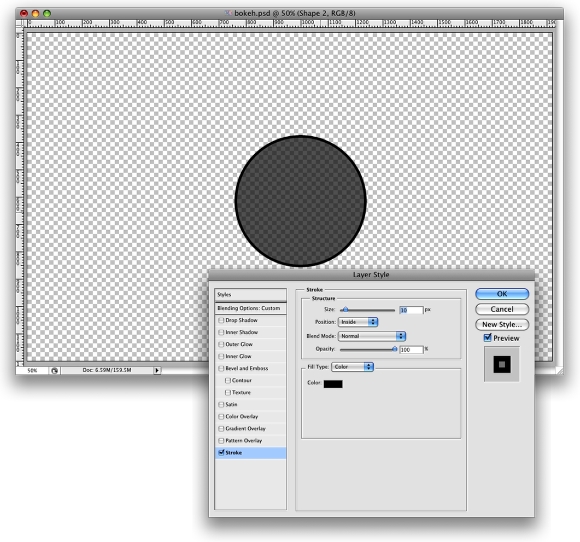
2.Select the Ellipse Tool (U), and create a circle. Use black for the color, and go to Layer>Layer Style>Blending Options. Change the Fill Opacity to 50%. After that select Stroke. Use 10 pixels for the size, Inside for the Position and Black for the color.
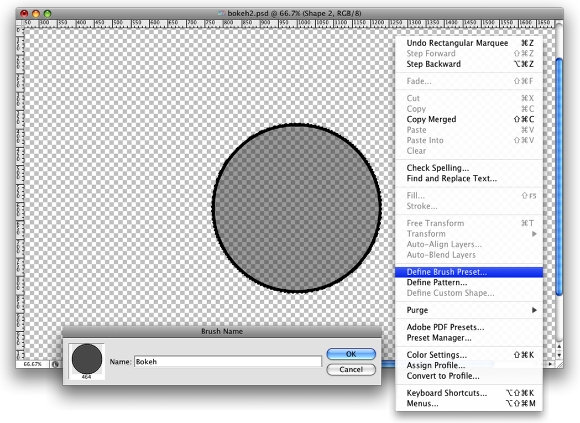
3.Select the ellipse and go to Edit>Define Brush. Name your brush and that's done. Now we have a new brush ;)
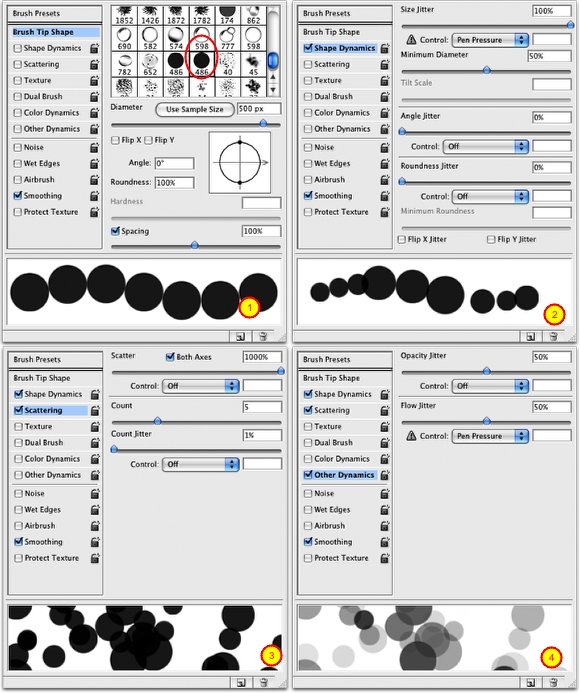
4.Go to Window>Brushes (F5). The first thing to do in the Brush Engine is to select our new Brush. The size won't matter because you will change that when you use it. The Spacing, however, is very important. Chage the value to 100%. After that, select the Shape Dynamics, then Scattering and Other dynamics. For the values use the image below.
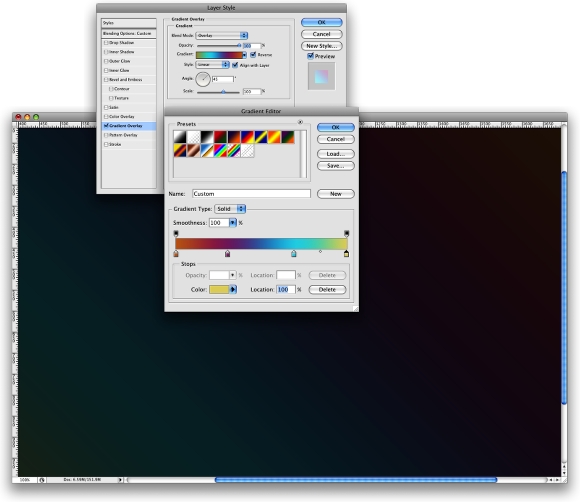
5.Before we start painting our bokehs let's create a new layer and fill it with a colorful gradient. I created a new layer and used the layer styles to do that but feel free to do the way you are used to. My gradient settings are as follows: Blend Mode is Overlay, Opacity is 100%, Style is Linear, and the Angle is 45º. The colors I used are: Yellow (#00085), Cyan (#1bdaeb), Purple (#9b3b81), Orange (#d27e34).
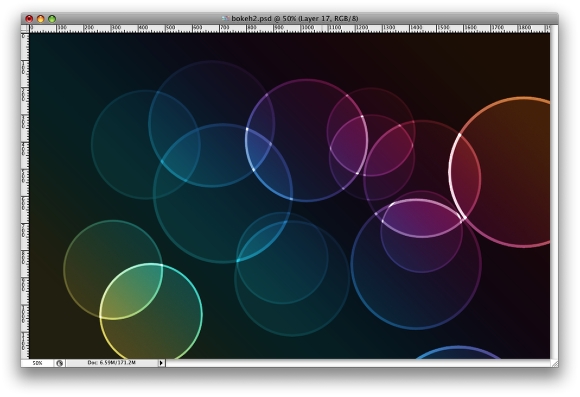
6.Let's create a new Folder in our Layer Palette. Rename the folder to Bokehs and change the Blend Mode to Color Dodge. Then create a new layer, choose white for the color and select the Brush Tool (B). Now just paint some ellipses with our custom brush. For this first layer use a big size, like 500-600px.
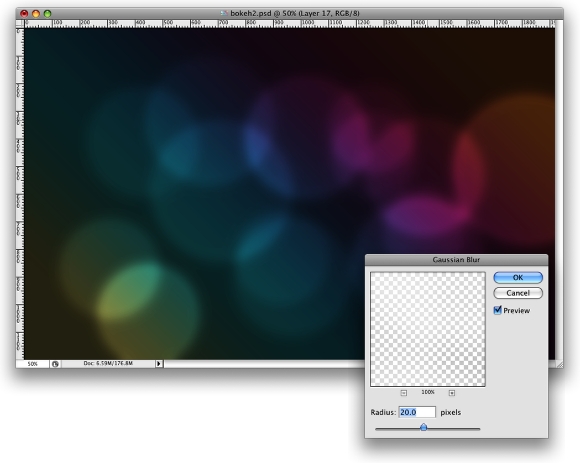
7.Go to Filter>Blur>Gaussian Blur. For this first layer use 20 pixels for the Radius.
8.Create another layer and paint more brushes. This time however use a smaller size for the brush. After that go to Filter>Blur>Gaussian Blur. Use 4 pixels for the Radius.
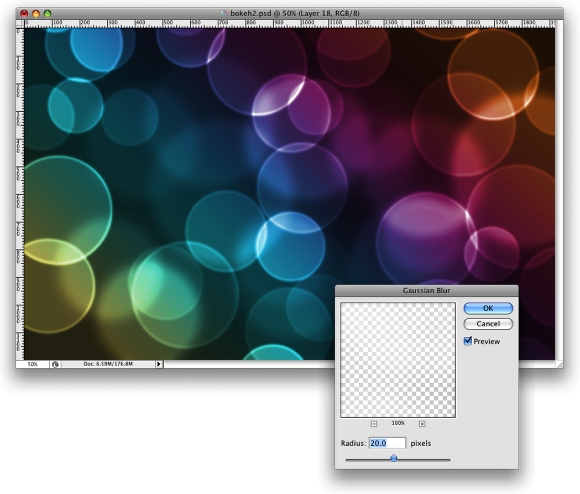
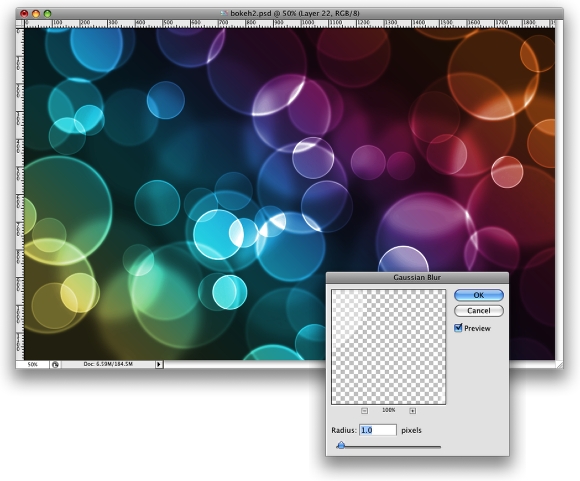
9.Create another layer and repeat the previous step, this time however use a much smaller brush. Apply the Gaussian Blur to this layer as well, but use only 1 pixel for the Radius.
Conclusion
Now just add your logo and that's it. We have a nice wallpaper. The idea of this tutorial was once again to show the power of the Brush Engine. You can try different shapes for this same effect, like hexagons for example. Also you can play a bit with the blurs to add more depth to the final design. Now it's up to you
Tag :
Photoshop
Add A Transparent Text Area To An Image
In this Photoshop tutorial, we’ll learn how to add an area of transparent text to an image. By that, I mean the text itself will be fully transparent, allowing us to see right through it to the image below, but it will be surrounded by a semi-transparent, solid-color background (which is what will allow us to actually see the text and distinguish the shapes of the letters, otherwise the text would just be, well, invisible). This can be a useful design technique when you need to add type in front of an image that’s too “busy” for the text to be easily readable.
To create the effect, we’ll be using a layer group as well as a couple of Photoshop’s Advanced Blending options (don’t worry, they’re very simple "advanced" options). Here’s an example of what we’ll be learning how to create. I’ve added the words “NEW YORK CITY” in front of the original image, purposely placing them over the busiest part of the photo so we can see the buildings through the shapes of the letters. The semi-transparent background surrounding the letters is what makes the text readable (New York City skyline photo from Shutterstock):
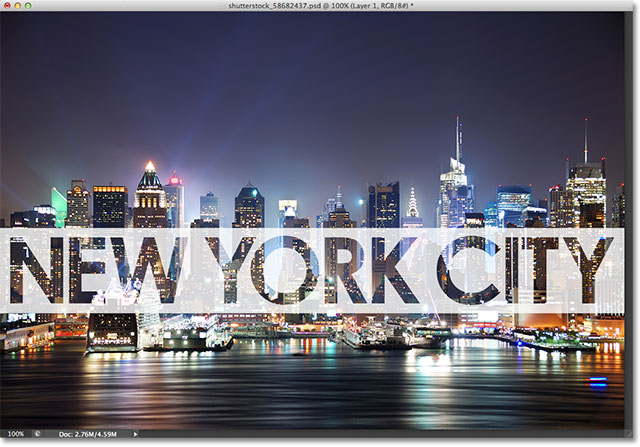
The final result.
I’ll be using Photoshop CS6 for this tutorial but any recent version will work. Let’s get started!
Step 1: Add A New Blank Layer
With my photo newly opened in Photoshop, if we look in my Layers panel, we see the image sitting on the Background layer which is currently the only layer in my document:
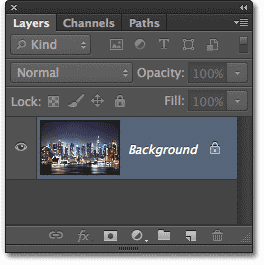
The Layers panel showing the original image on the Background layer.
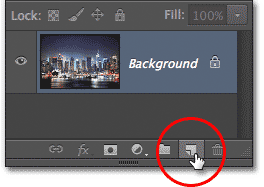
Clicking the New Layer icon.
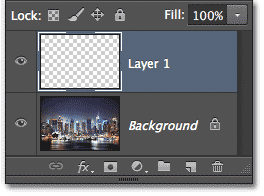
The Layers panel showing Layer 1 above the Background layer.
Step 2: Fill The New Layer With White
We’re going to use this new layer as the semi-transparent background surrounding our text, but we won’t always know at this point exactly where the final text will appear in the image, so for now, we’ll just fill the entire layer with a solid color and worry about resizing it later (and when I say “worry” about resizing it, I mean “easily” resize it since it’s easy to do).
Let’s fill the layer with white. Go up to the Edit menu in the Menu Bar along the top of the screen and choose the Fill command:
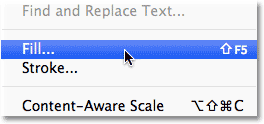
Go to Edit > Fill.
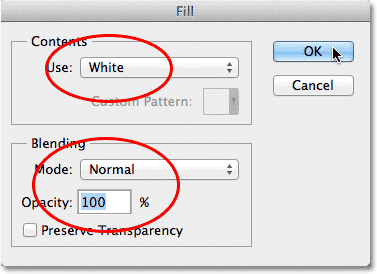
The Fill command dialog box.
The document window after filling Layer 1 with white.
Step 3: Lower The Opacity Of Layer 1
To turn this solid white into a semi-transparent background for our text, all we need to do is lower the layer’s opacity value. You’ll find the Opacity option in the top right corner of the Layers panel. By default, the opacity value is set to 100%. The more you lower it, the more the photo below the layer will show through. You can easily go back and change the opacity value at any time, so for now, I’ll set mine to 70%:
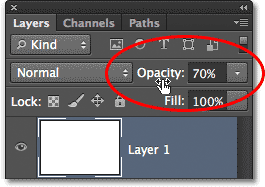
Lowering the opacity value of Layer 1 to 70%.
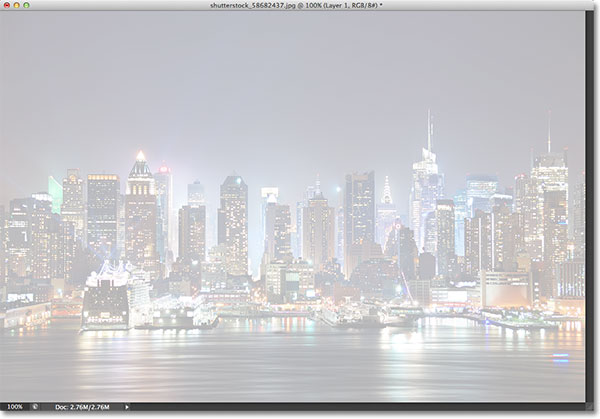
The document window after lowering the opacity of Layer 1.
Step 4: Add Your Text
Let’s add our text. Select the Type Tool from the Tools panel:
Selecting the Type Tool.

The font options in the Options Bar.

The color swatch shows the current color for the type. Click on it to choose a different color.
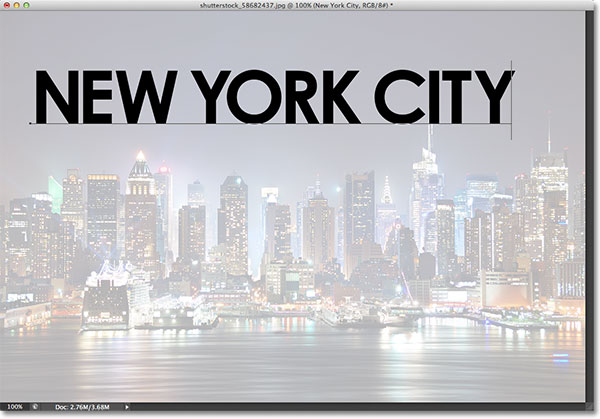
Adding my text to the document.

Clicking the checkmark to accept the text.
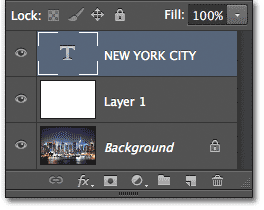
The Layers panel showing the new Type layer.
Step 5: Resize The Type With Free Transform
If your text needs to be resized, make sure the Type layer is selected (highlighted in blue) in the Layers panel, then go back up to the Edit menu at the top of the screen and this time, choose the Free Transform command. Or, you can simply press Ctrl+T (Win) / Command+T (Mac) on your keyboard to select Free Transform with the shortcut:
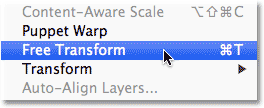
Go to Edit > Free Transform.
You can also move the text around inside the document by clicking anywhere inside the Free Transform box and, again with your mouse button held down, dragging it into place. Here, I’ve made my text larger and moved it in front of the buildings. When you’re done, press Enter (Win) / Return (Mac) on your keyboard to accept the change and exit out of the Free Transform command:
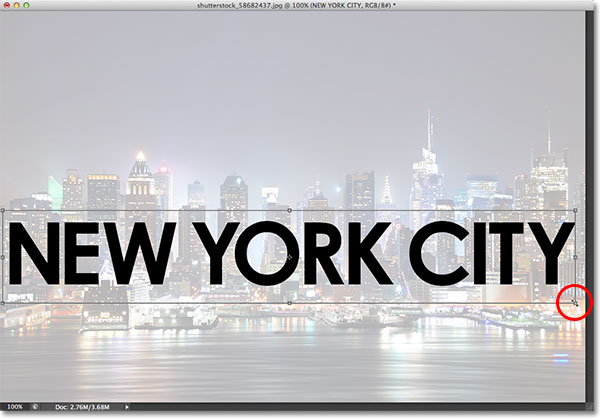
Resizing and moving the text into position with Free Transform.
Step 6: Add The Type Layer And Layer 1 To A Layer Group
Next, we need to place both the Type layer and Layer 1 below it into a layer group. To do that, we first need to have both layers selected in the Layers panel. We already have the Type layer selected, so hold down your Shift key and click on Layer 1. This will select both layers at once (both will be highlighted in blue):
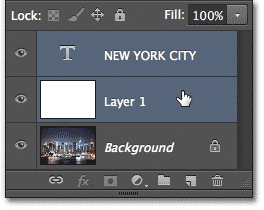
Holding Shift and clicking on Layer 1 to select both of the top layers.
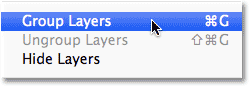
Go to Layers > Group Layers.
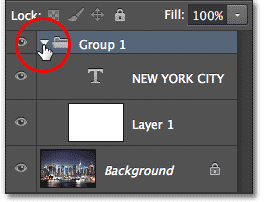
Clicking the triangle icon to open the group and see its layers.
Step 7: Select The Type Layer
Now that our two layers are inside their own group, we can add our transparency effect to the text. Placing the layers inside a layer group will keep the transparency effect constrained within the group itself so that only the layers inside the group will be affected. Any layers below and outside of the group will not be affected.
Click on the Type layer to select it:
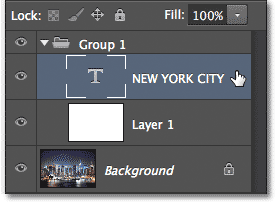
Selecting the Type layer inside the group.
Step 8: Open The Blending Options
With the Type layer selected, click on the small menu icon in the top right corner of the Layers panel:
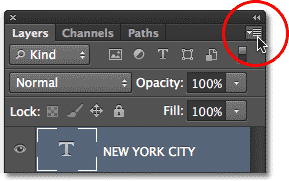
Clicking the Layers panel menu icon.
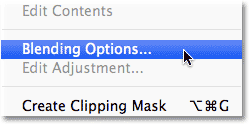
Choosing “Blending Options” from the Layers panel menu.
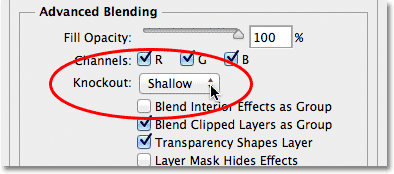
Setting the Knockout option to “Shallow”.
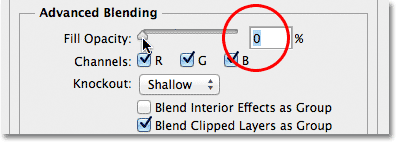
Setting the Fill Opacity value to 0%.
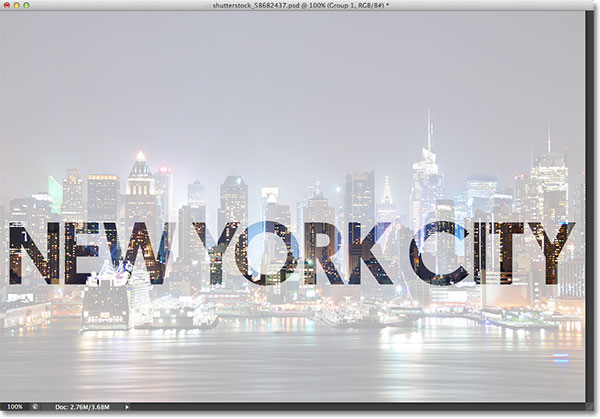
The photo on the Background layer is now visible inside the text.
Step 9: Select Layer 1
Finally, let’s resize the white semi-transparent background so it surrounds the text without covering up the entire image. Click on Layer 1 in the Layers panel to select it:
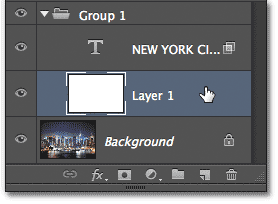
Selecting Layer 1.
Step 10: Resize The Background With Free Transform
Just as we did back in Step 5, go up to the Edit menu at the top of the screen and choose Free Transform, or press Ctrl+T (Win) / Command+T (Mac) on your keyboard to select it with the shortcut:
Selecting the Free Transform command from the Edit menu once again.
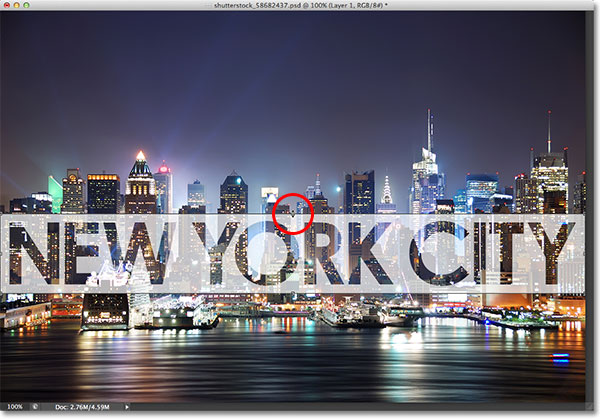
Dragging the top and bottom transform handles to reshape the background around the text.
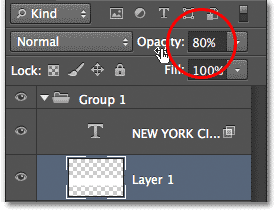
Increasing the Opacity value to 80%.
The final transparent type effect.
Tag :
Photoshop
